First and foremost, a thank you goes to YaleroYnot for being the first documented member to do this.
Difficulty - High! If your not good at soldering, and have jumpy hands... don't do this.
Time - ~2hrs - discluding epoxy/hot glue set times and led test times.
His how-to write up...
the best way to put it is everything has to come apart in this order
back cover
front "glass"
circut board
front gauge face ( slowlly pry it and let th glue release work al the way around slowly it is only plastic )
remove the gauge "motors" label them (don't know if it matters but i did"
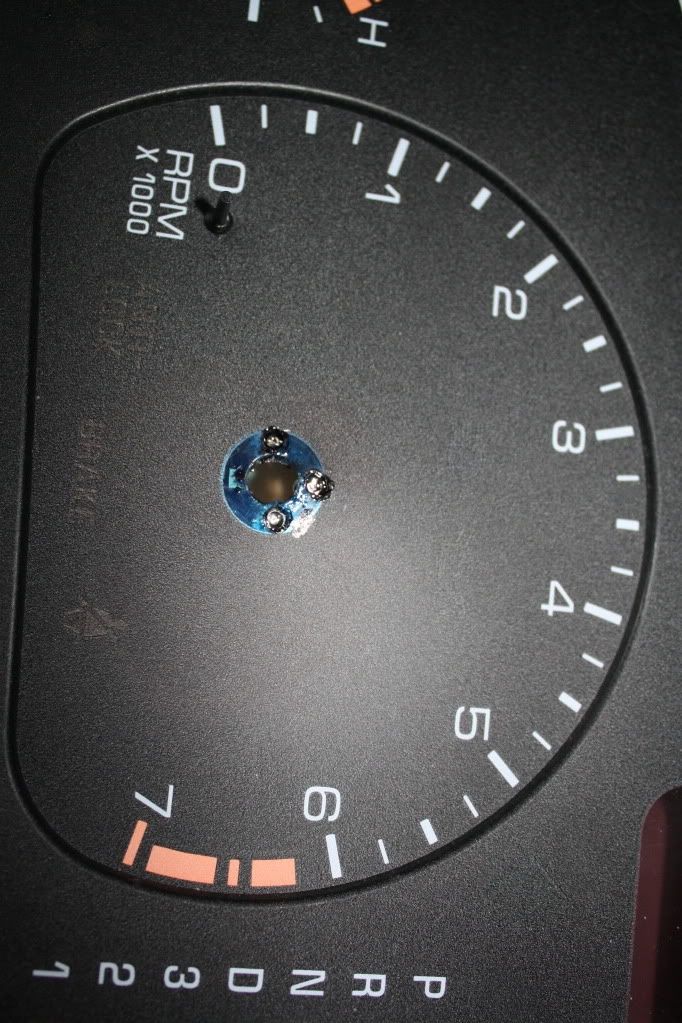
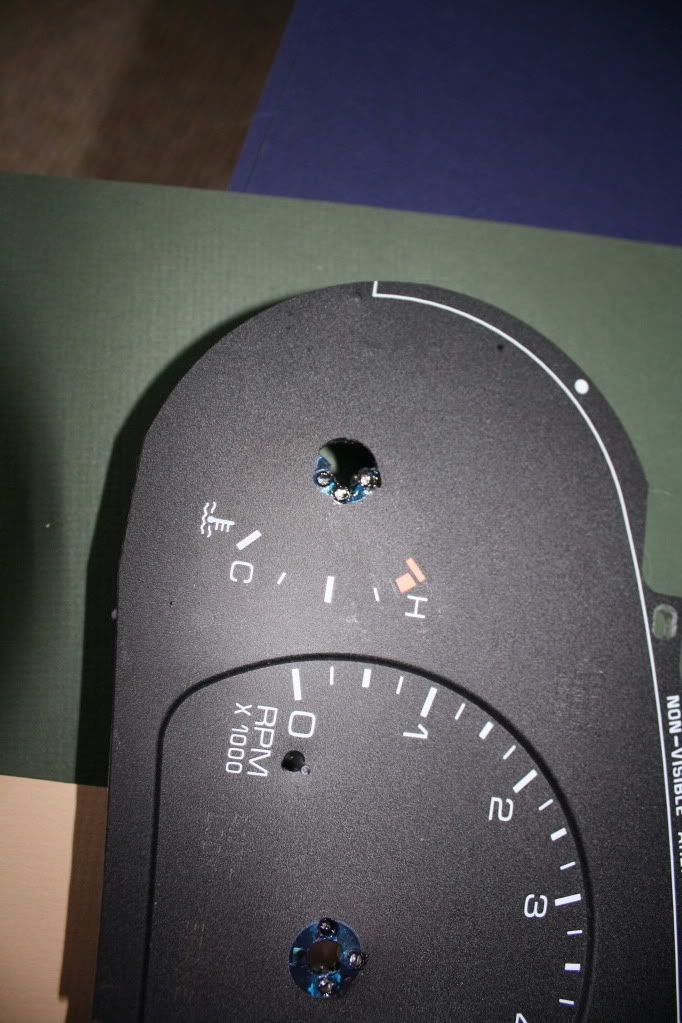
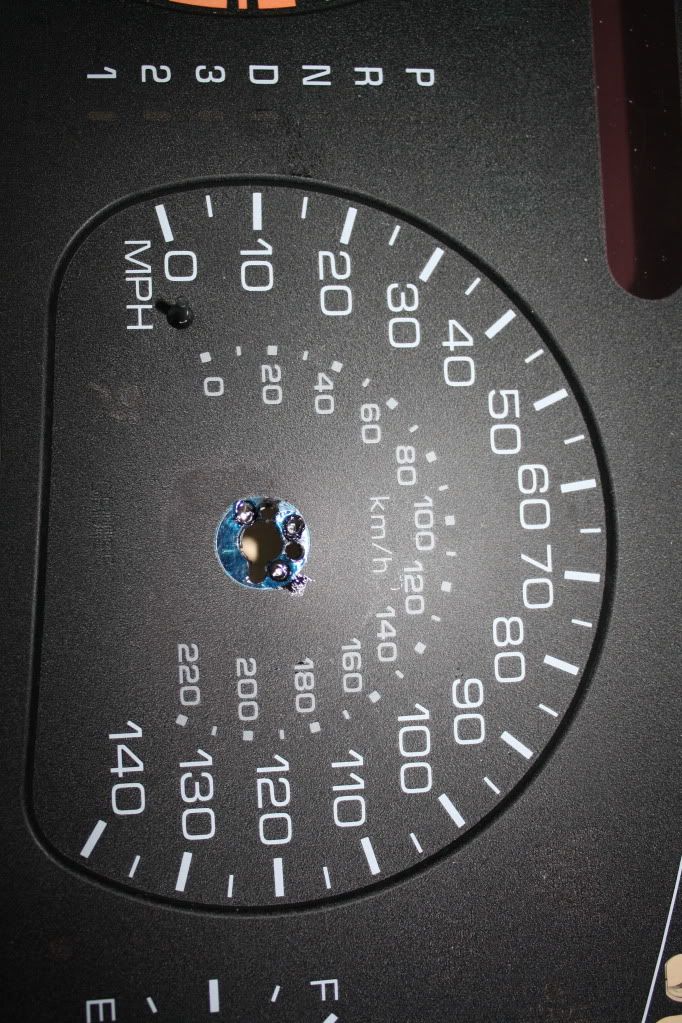
drill #12 holes at 9/3 and 12 o'clock then go and redrill # 33 hole ( .116 ) 3mm leds are .115 and drill the hole on the small gauges at 3 o clock. ( looking from the back ).
place the leds in the holes ( conecting them in series + - + - .... ) solder the leds together the final result should be three leds in a circle about the size of a AA batery. with a positive and negitive lead.
take a hack saw blade and put two groves in the plastic around the gauge "motor" so there is a place to run the wires.
after pressing in the leds.and pushing the wires in the dished area. take hot glue and glue the leds in and cover the wires with glue to insulate them from the gauge "motor". contiue till all 4 gauges are done. then solder a resistor (220 ohm 1/4 watt for 3 leds) to the positive side of the series curcit. then chain all the curcits together and come out of the cluster at the bottom center. using hot glue to attach the wires.
i recommend testing the leds thru out the process to make sure that every thing is working. i use a power wheels charger as my 12 volt power.
--------------------------------
My revisions...
I used 3mm leds (as did he) in a series 3 per gauge, 2 gauges wired together. This gives you 6 leds together, which is ~12v. (for myself, i had to add a resistor inline with the wire to prevent them from blowing up, when the alternator is running) TEST BEFORE MOUNTING.
I did this 3 times because i got roostery, and didn't.
I used a dremel on top of the drill listed above. An engraving bit to cut down some of the plastic on the inner ring, so the wires have somewhere to tuck into. Also, to drill the holes on the back of the gauge face a little bigger, for a better flush fit for mounting.
THE MOTORS ARE NOT INNER CHANGEABLE! Keep track of where your needles are, and what order they are mounted in.
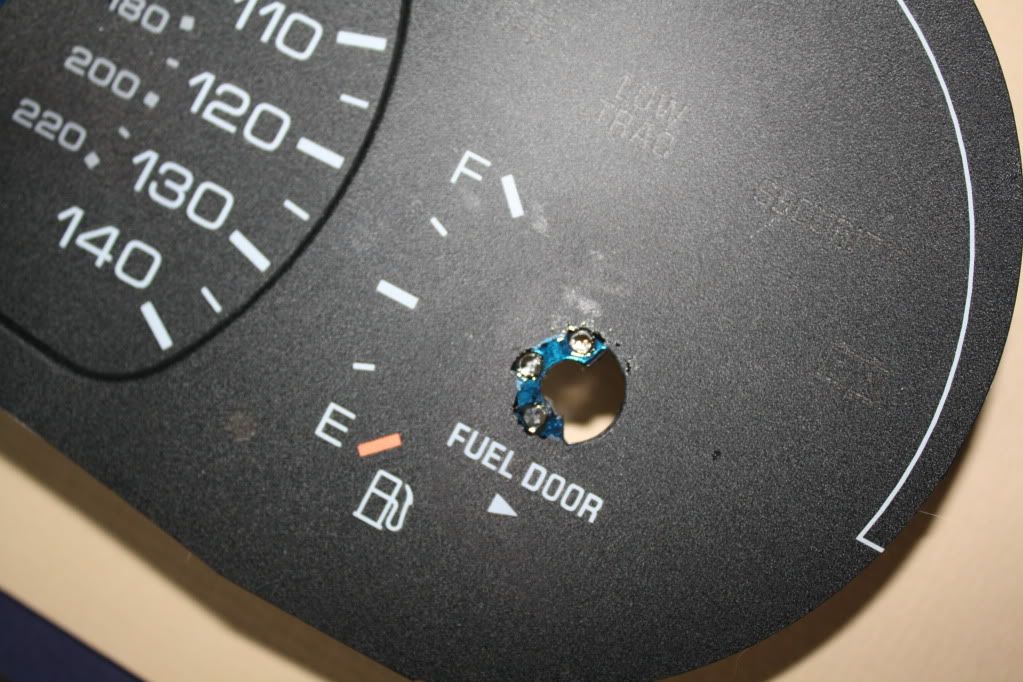
You WILL remove your needles, so have a good way to recalibrate them. The gas/coolant are easy if you know where they normally sit when the car is warm/tank is full.
The tach, you definitely need to know where your car idles.
For the speedometer you have a few options. When the car is on, but not started... clearly its at ZERO. But, this will not perfectly calibrate it.
-Best option, have a OBDII reader that will give you your actual MPH and calibrate it with the front end lifted.
-There are other ways (the way I did it) and its just much to risky to recommend to others. (involves a GPS and an empty highway)
Pics!
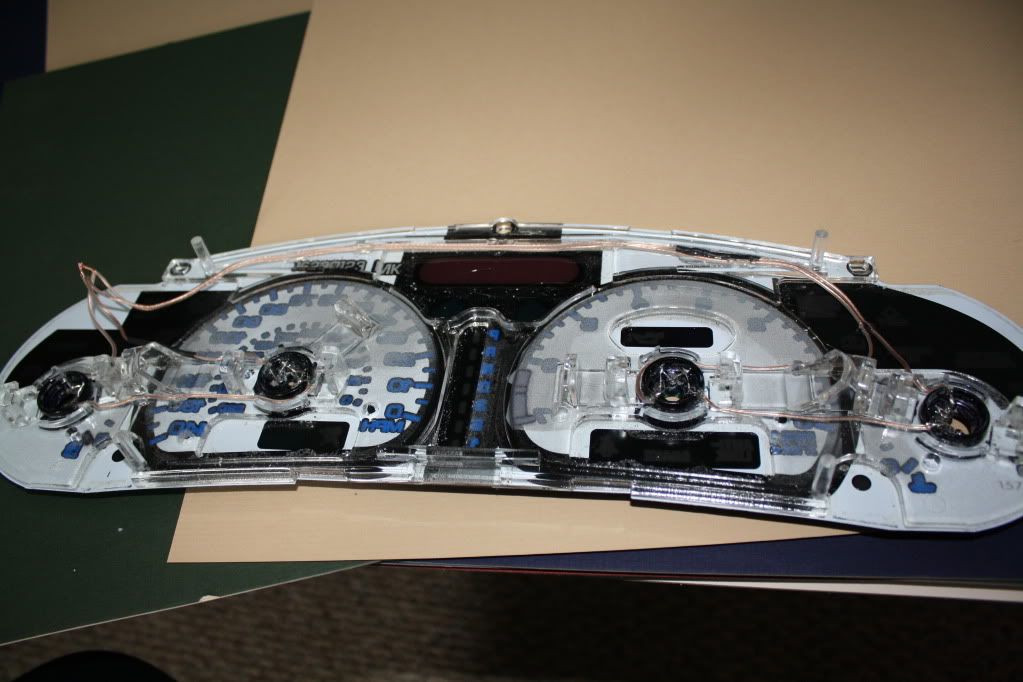

I will add pics that have them with the other lights on, later.
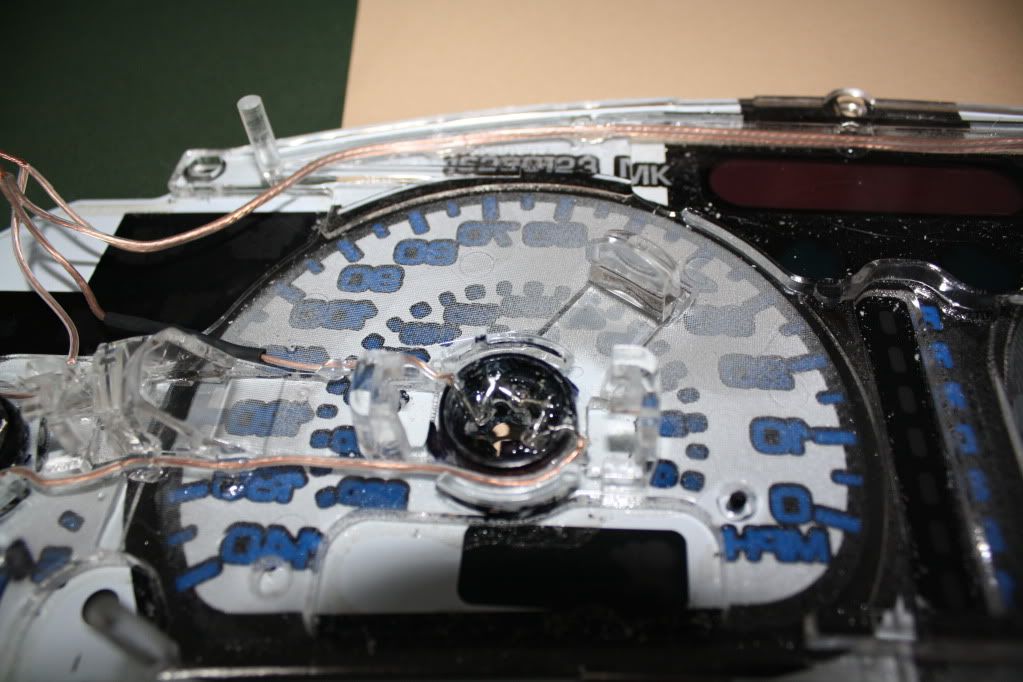
If the spots around the leds seem odd, its because its blue plastic. If they seem darker then yours, its because I used a sharpie to darken the back of the plastic to prevent the other leds in my gauges from adding color to the needles.
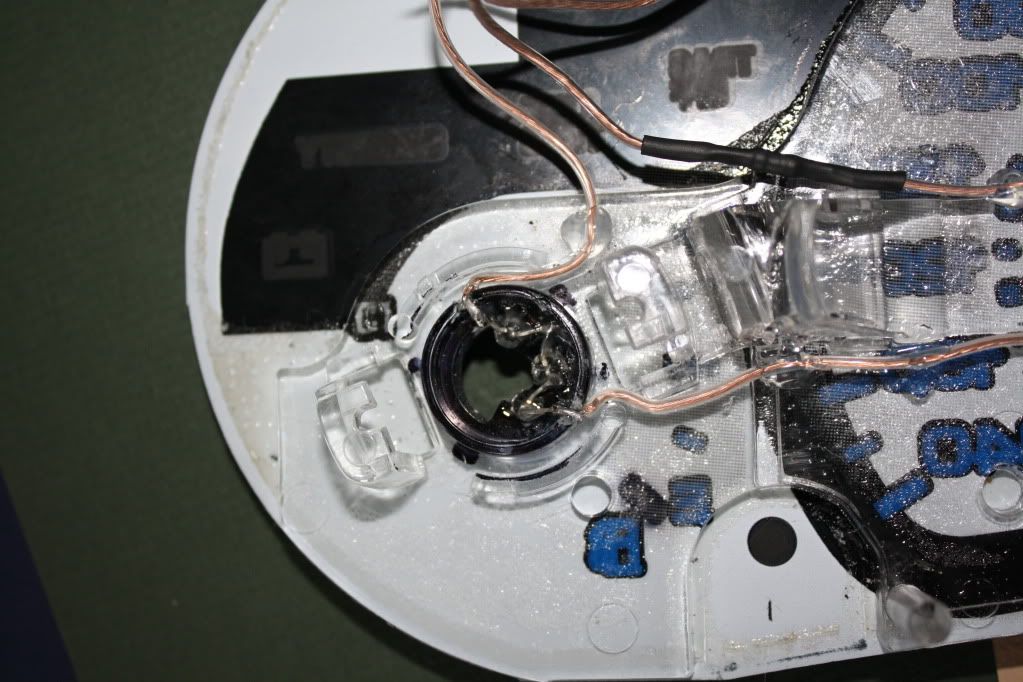
The 2nd to last picture has too many holes, I know. I was originally going to have 2 colored needles. Decided not to... when i found out that many leds wouldn't fit. The leds are shiny, because of the epoxy on the back of them, holding them in place/protecting the wires.